Arts and Crafts Ideas for Seniors to Stay Sharp
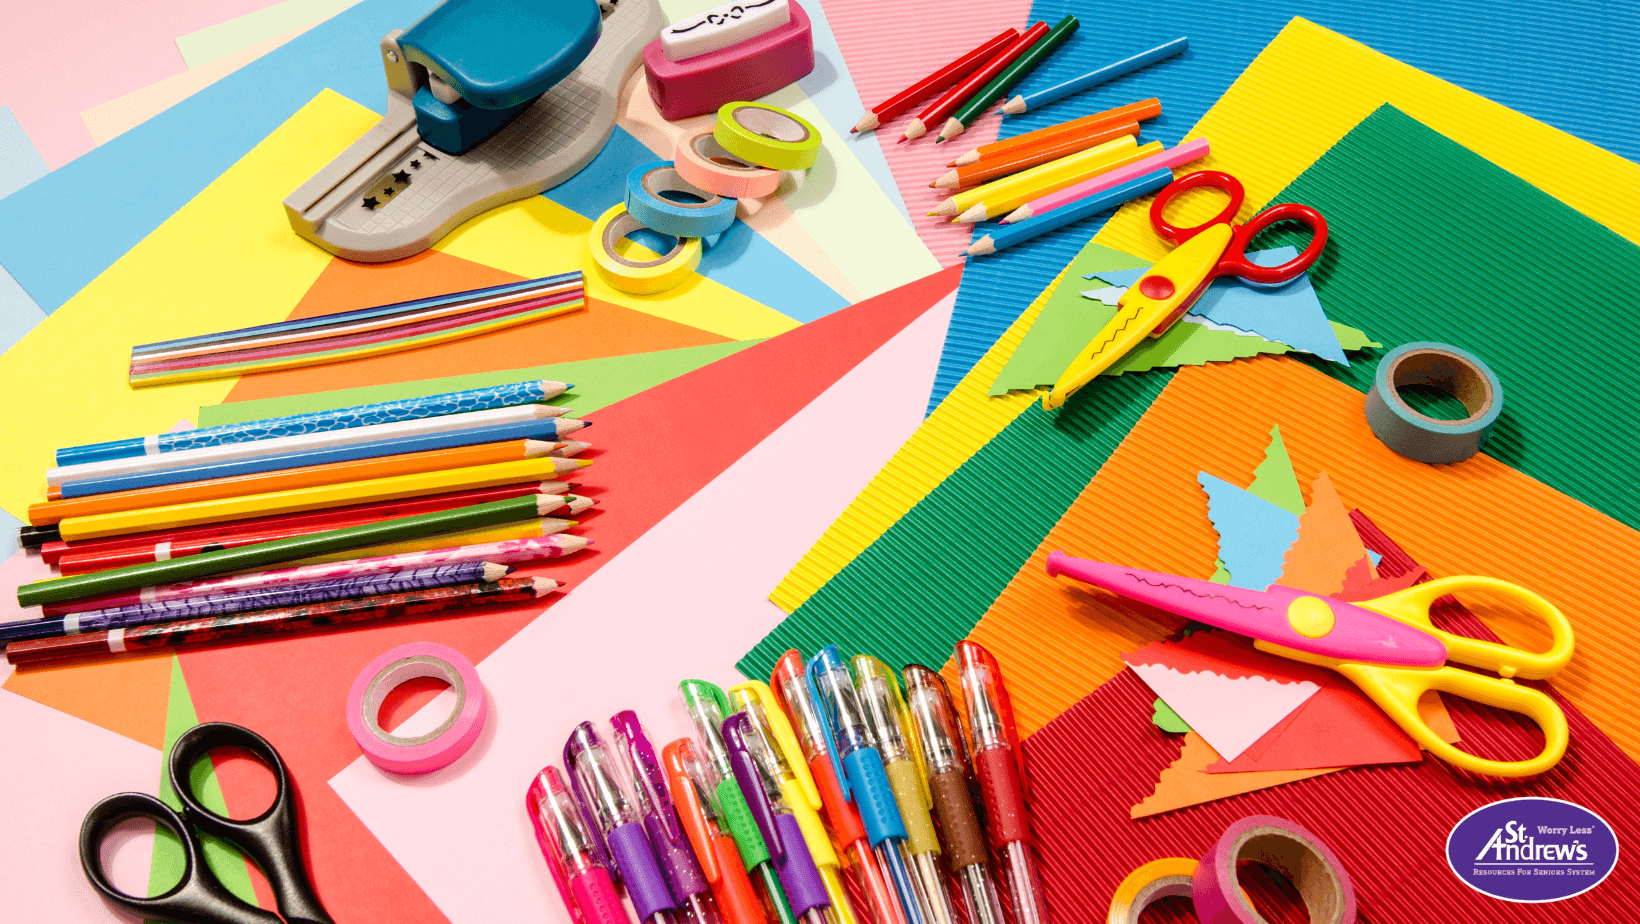
Our creativity and curiosity make us human, and that need to create and discover doesn't diminish when we age. In fact, it can be more important than ever to engage in the arts while aging. The benefits of creative activities for older adults are many and include:
- Mental health boosts
- Improvements in fine motor skills and dexterity
- Improvements in relationships between residents, staff, and visiting loved ones
- Sense of accomplishment for creating something
- Boosting self-esteem
17 Fun and Easy Craft Projects for Older Adults
Arts and crafts are a joy, but sometimes planning activities can be bothersome... but it doesn't have to be. You don't need a lot of supplies or a big budget to set up activities that are rewarding and engaging for older adults.
Easy crafts for seniors you can try at home or in a senior living community include the following.
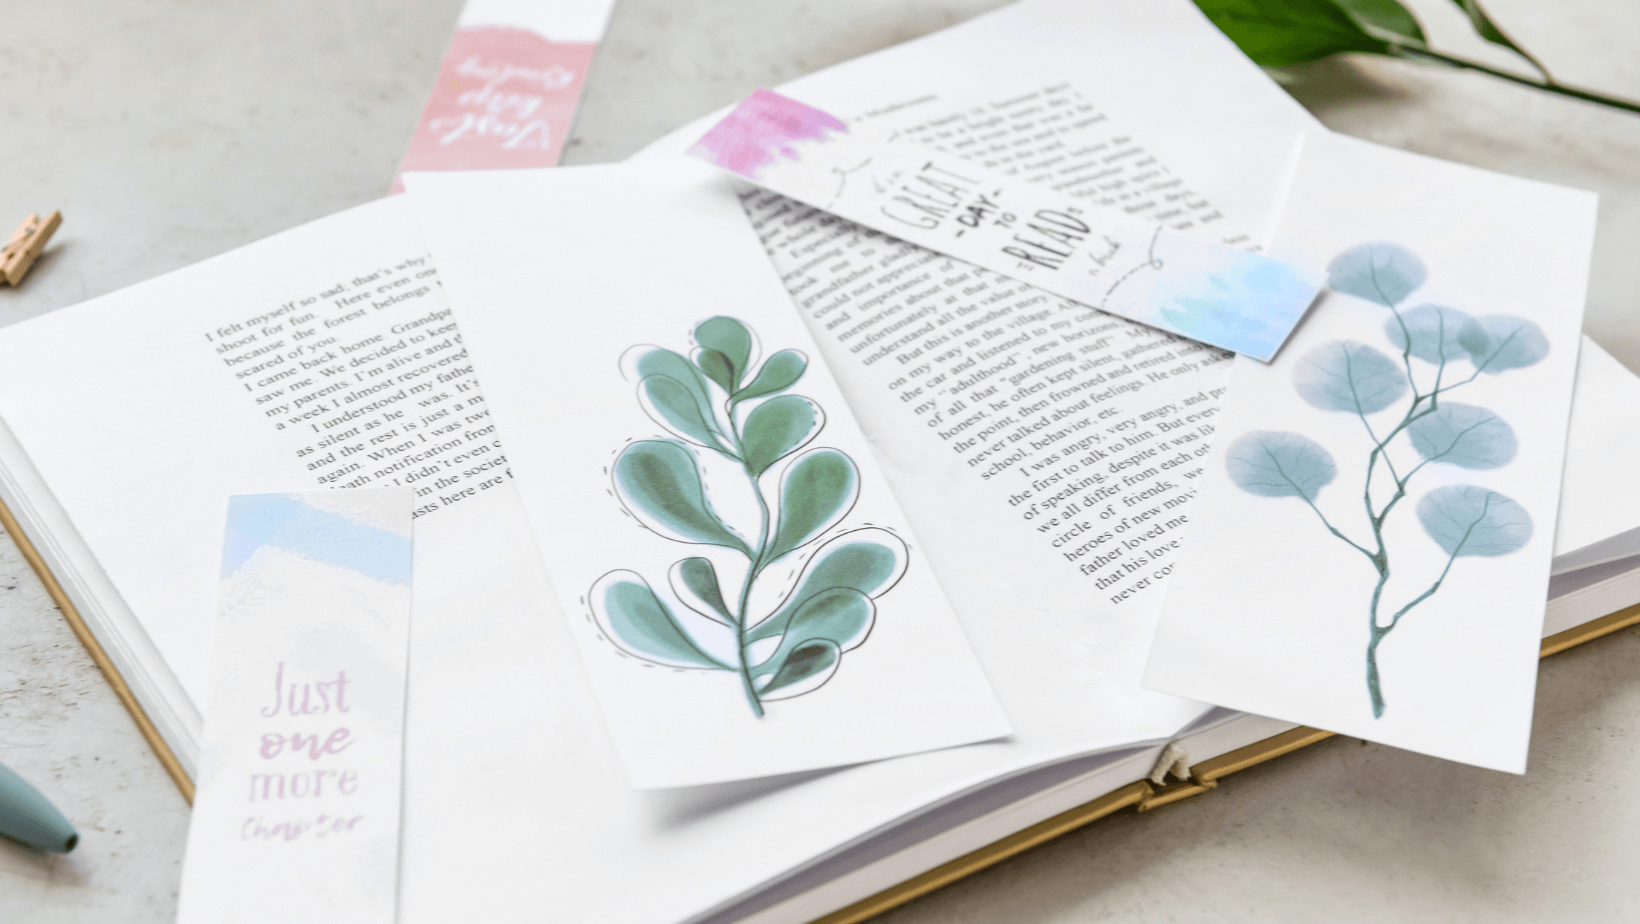
1. Bookmarks
Get the residents engaged with others by having them make their very own bookmarks.
It's easy. Have some extra paper and writing utensils? Yes? Then you can make bookmarks! Offer residents paper and colorful markers or crayons to decorate their bookmarks to their hearts' content. If residents need a little help getting started, suggest they include a quote from their favorite book or draw a scene from the most recent book they have read. You can then use adhesive laminating paper to cover the bookmarks once complete so that they can withstand the occasional spill.
For residents with conditions like rheumatoid arthritis (RA), you can offer pre-cut pieces of paper in the size and shape of the bookmark they want, so that they won't have to handle scissors.
What You'll Need:
- Paper
- Pens, pencils, markers, crayons, or colored pencils
- Scissors
- Laminating paper
2. Greeting Cards
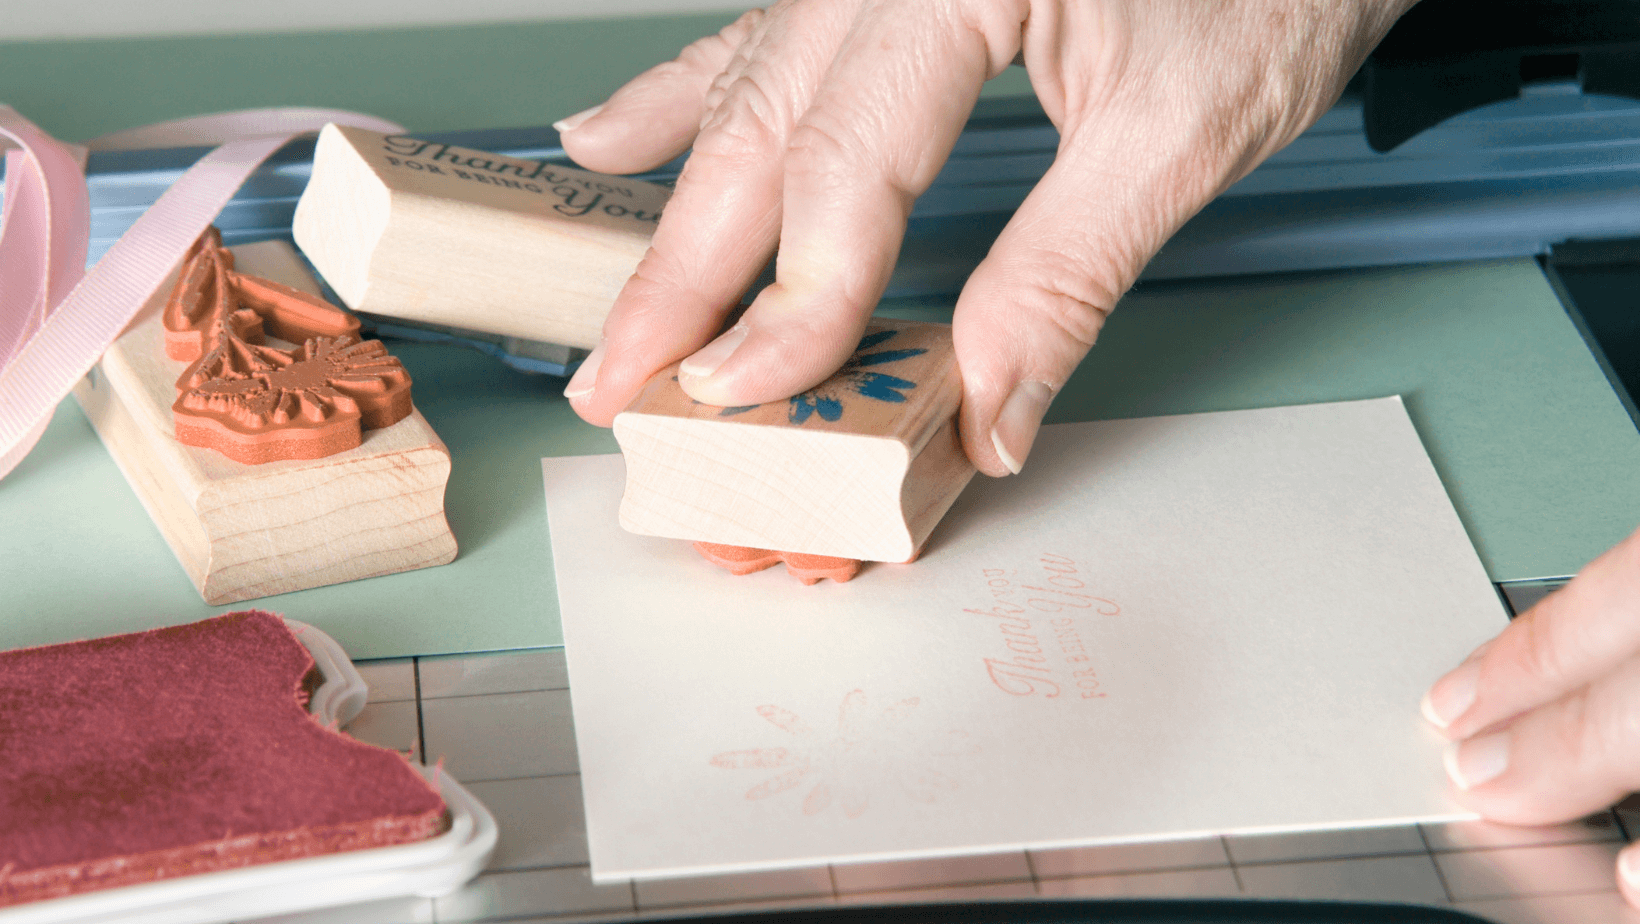
Greeting cards, like bookmarks, are relatively easy and inexpensive to make while being rewarding to create. For special events like Easter, Halloween, Yom Kippur, or birthdays, creating cards also serves the important function of allowing residents to keep in touch with loved ones while stretching their creative muscles.
Simply lay out the supplies residents need and let them get to work. You can also work with residents to help them cut out certain shapes or write the individual notes inside the cards.
What You'll Need:
- Paper
- Pens, pencils, and markers
- Paint, paint brushes, and cups of water to clean the brushes
- Paper plates to hold the paint for each resident
- Felt
- Glitter
- Stencils and stamps
- Stickers
- Glue
- Scissors
- Newspaper to catch the mess
3. Valentine's Day Cards
Valentine's Day cards are something truly special. With vibrant colors, lovely heart shapes, and glitter, you may be surprised at just how many residents enjoy making cards during this festive time of year. This activity is especially great for couples in assisted living or for grandparents with visiting grandkids.
All you need to do is set out the supplies and let residents work their magic. For residents with RA or other fine-motor difficulties, you can pre-cut lots of fun shapes, like hearts, for residents to use.
What You'll Need:
- Paper
- Pens, pencils, and markers
- Paint, paint brushes, and cups of water to clean the brushes
- Paper plates to hold the paint for each resident
- Felt
- Glitter
- Stickers
- Glue
- Scissors
- Newspaper to catch the mess

4. Winter Snowflakes
Wintertime is the most wonderful time of the year to make art, and one of the most quintessential wintertime crafts is the coffee filter snowflake. All you need are coffee filters and scissors—that's it. To make the activity easier for residents, you can pre-fold the filters into eighths and pencil in an outline of where residents should cut to make fun crystalline shapes.
What You'll Need:
- Coffee filters
- Scissors

5. Popsicle Stick Menorahs and Kinaras
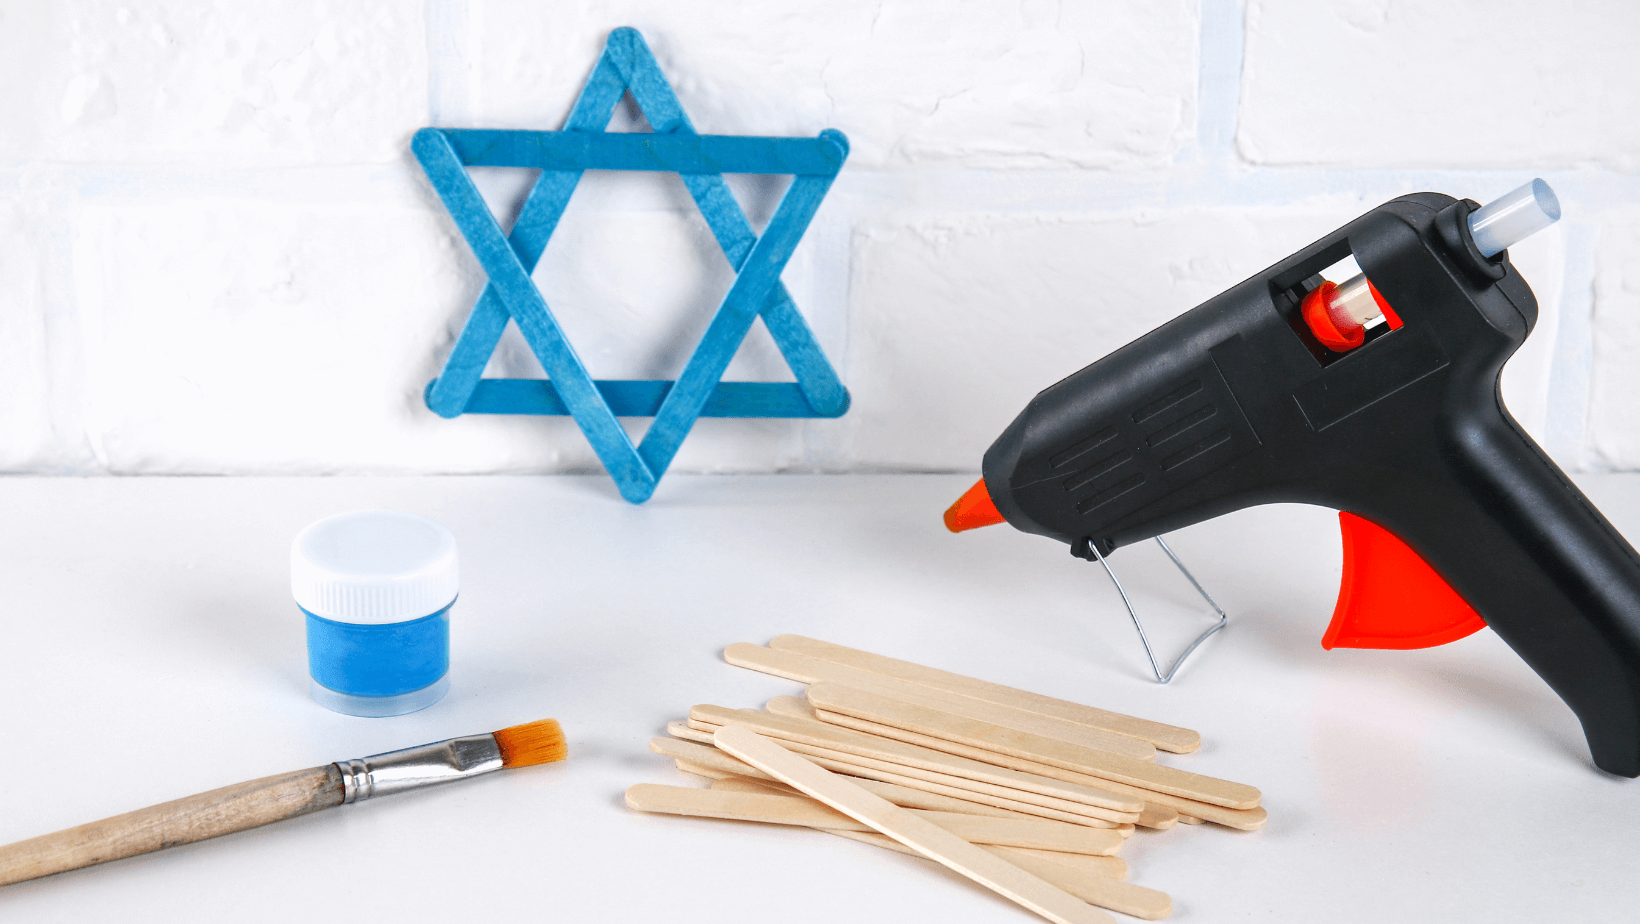
Help your residents celebrate The Festival of Lights with a DIY menorah that doesn't pose a fire hazard. Set out colorful popsicle sticks, some glue, and some construction paper cut in the shape of flames. Let residents construct their own menorah with the sticks and either glue them yourself with a hot glue gun or let residents do so themselves with a different type of adhesive. Have residents put a paper "flame" on the menorah for each day of Hanukkah. You could also let residents construct not a menorah, but other Hanukkah-themed objects, like the Star of David or dreidels.
You could also customize this activity for residents who celebrate Kwanzaa, as the candlestick holder for this holiday, the kinara, is similar to the menorah. There are a few key differences, however. For starters, kinaras have 7 candles instead of 9 like menorahs do. Furthermore, the "candles" on your residents' kinaras need to be certain colors. Namely, the center candle should be black, the three on the right green, and the three on the left red.
What You'll Need:
- Construction paper cut in the shape of flames
- Colorful popsicle sticks
- Scissors
- Glue
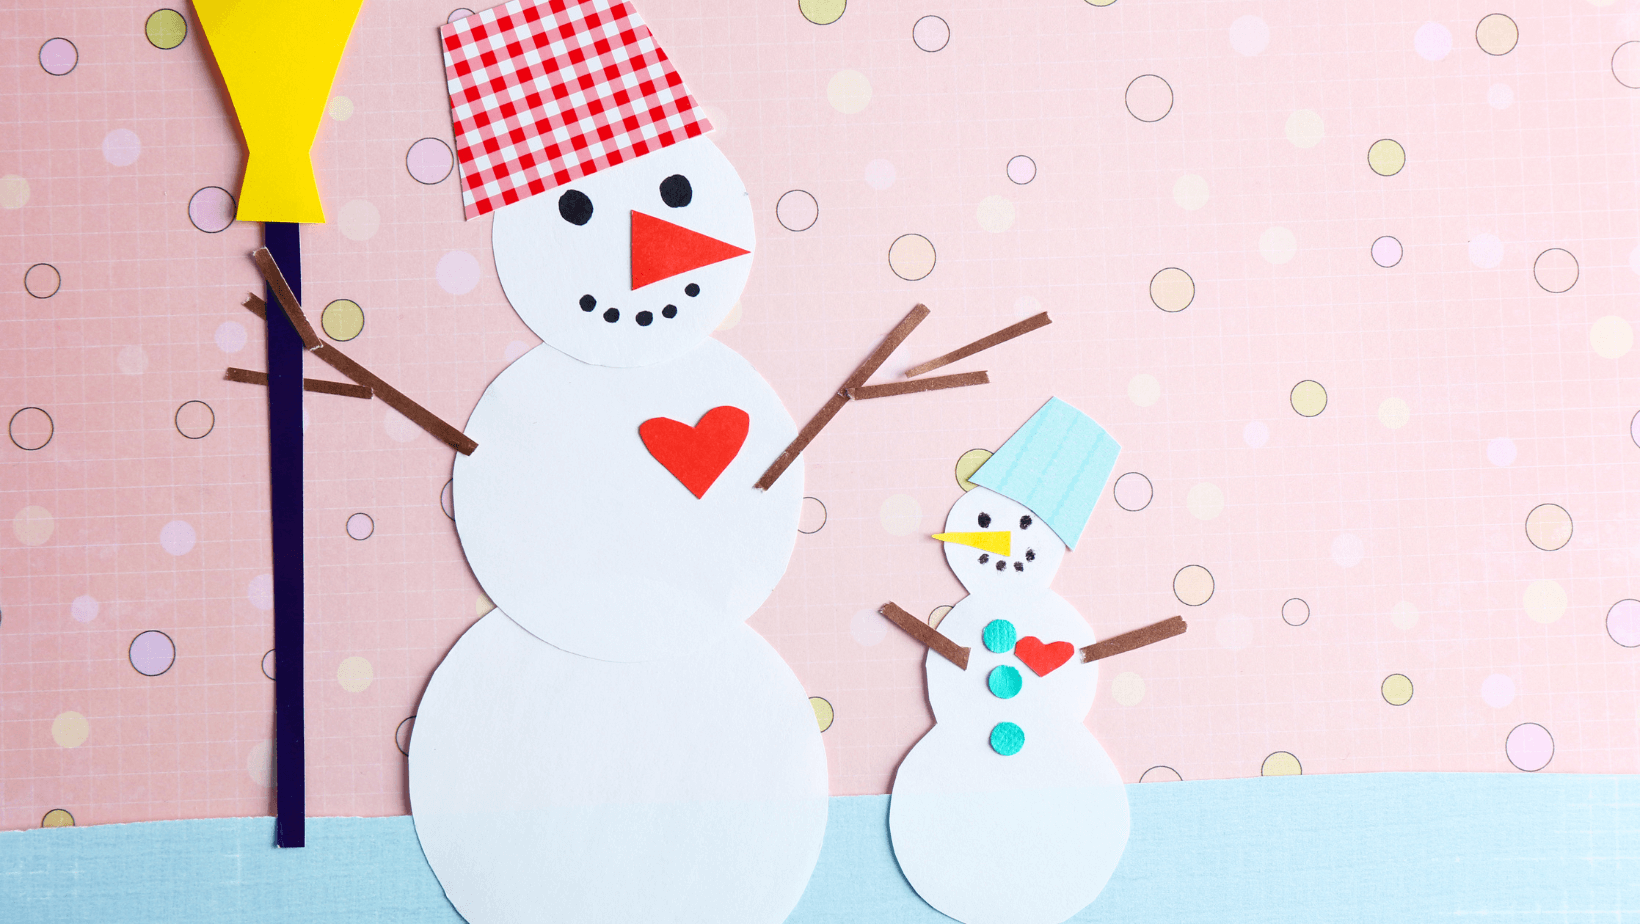
6. Paper Snowmen
Another wintertime favorite, paper snowmen are super easy and super fun. Have residents use the materials you provide to make their very own snowman (or snowwoman) that is as unique as they are. You can make this activity even easier for residents by offering a blank snowman template for them to draw on as well as shapes cut out from construction paper like hats, corn cob pipes, carrot noses, scarves, and stick hands.
What You'll Need:
- Scissors
- Paper cut into the shape of snowmen, hats, and other snowmen accessories
- Crayons, pencils, markers, and colored pencils
- Glue
- Glitter
7. Christmas Tree Ornaments
If your family or community sets up a Christmas tree, have the older adults in your life get in the Christmas spirit with a timeless holiday craft by crafting an ornament for your tree. This activity is especially great because your loved one or resident will be able to see the fruits of their labor all season long.
Cut out shapes for residents to decorate; they can be in the shape of traditional bulbs or something else, like candy canes, stockings, mittens, and trees. You can also glue together popsicle sticks in the shape of trees for sturdier ornaments. Let the older people decorate each ornament as they will, and then use an adhesive to attach the ornament to some looped string or ribbon. Hang the results on the tree and enjoy.
What You'll Need:
- Paper cut into holiday-themed shapes
- Glue or tape
- Scissors
- Popsicle sticks
- Buttons and beads
- Colored pencils, crayons, and markers
- Strings and ribbons
- Glitter
- Felt
- Pom-poms

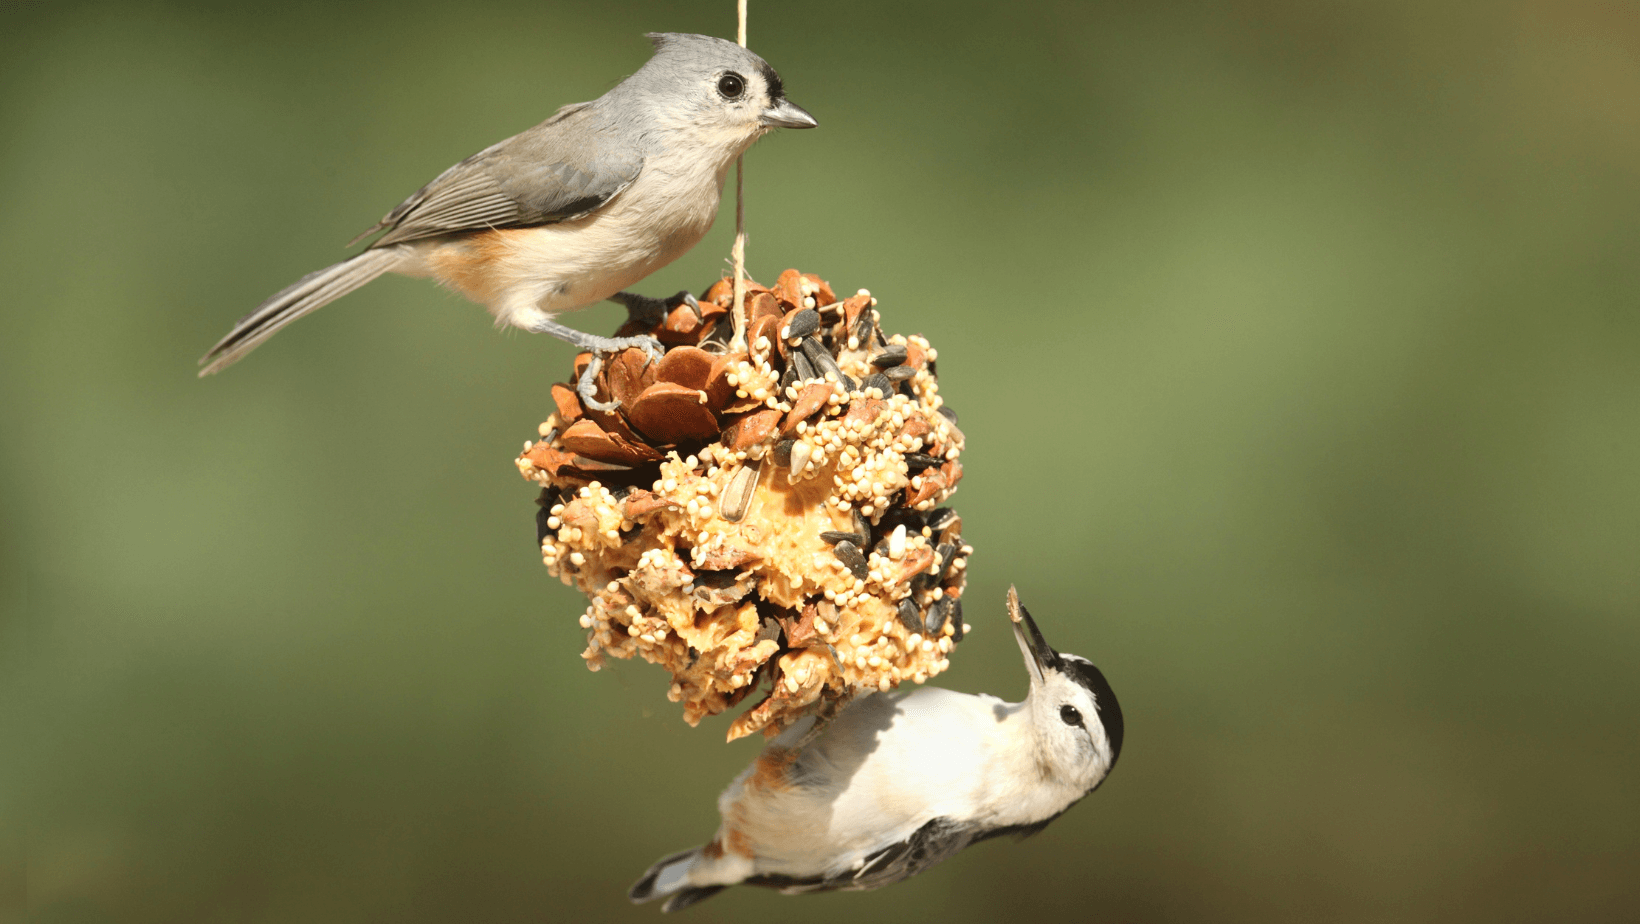
8. Pinecone Bird Feeder
Birdwatching has some major benefits for people living with Alzheimer's disease. According to one scientific literature review, hearing natural sounds like birdsong can help reduce negative symptoms of Alzheimer's disease, like aggression and anxiety. So, why not attract birds to your community and have residents help get the process started?
Set some newspapers down so you can catch the mess (and trust us—it will get messy). Then, set up cups or bowls of birdseed within easy reach for residents. Give each resident a pine cone, a butter knife, and some peanut butter. Let each resident put peanut butter on their own pine cone. Once the peanut butter is applied, have residents gently pour the seed on the pine cone (you may have to help them with this step). Once the seed is applied, add some string to the top of the bird feeder and hang it in a community space or outside the window of the resident who made it.
What You'll Need:
- Pinecones
- Birdseed
- Paper/Styrofoam bowls or cups
- Peanut butter
- Butter knives or disposable knives
- Newspaper to catch the mess
- String
- Scissors
9. Photo Frames
One of the greatest privileges of aging is getting to look back on a life well-lived. Let residents cherish those memories by framing photographs of special moments in their lives, like weddings, birthdays, and vacations. Even better, let residents decorate the frames that will house their photographs.
You can either buy pre-made plain frames or let residents construct the frames themselves out of foam board or popsicle sticks and glue. Once you have the actual frame ready, allow residents to have a wide variety of supplies that will allow them to fully express themselves, like paint, glitter, and more. After residents are finished and the frames dried, pop the photographs into the frames and let residents display the photographs in an important place, like a bedside table.
For residents experiencing memory loss, it may be helpful to write down the names of the people who appear in the photograph. The names can either be on the photo itself or on the frame.
What You'll Need:
- Foam board
- Construction paper
- Popsicle sticks
- Glitter
- Glue
- Markers, crayons, or colored pencils
- Paint, paint brushes, and cups of water to clean the brushes
- Paper plates to hold the paint for each resident
- Cardboard
- Photographs from the residents or their families
- Newspaper to catch the mess

10. Scrapbooks
Frames are fun, but they aren't the only way your residents can commemorate special events in their lives. Creating scrapbooks is a way for residents to cherish not one but many milestones in their lives or the lives of their families, and more pages can be added over time. Best of all, scrapbooks are fun projects that require collaboration from family and friends, making it a social activity as well as a creative one.
You can grab small, inexpensive binders and paper sleeves at most dollar stores, allowing you to offer this activity to all of your residents on a small budget. Set aside a binder with clear paper sleeves already in it, and make sure to display each one with a resident's name on the front. Then, set out the creative supplies and photographs by each resident and let them get to work. Once complete, slip the pages into the sleeves and place the scrapbooks in the appropriate resident's room.
For residents experiencing memory loss, it may be helpful to write down the names of the people who appear in the photographs. The names can either be on the photos themselves or off to the side.
What You'll Need:
- Binders
- Clear paper sleeves
- Construction paper
- Glitter
- Glue or tape
- Stickers
- Scissors
- Markers, crayons, or colored pencils
Photographs provided by the residents or their family members

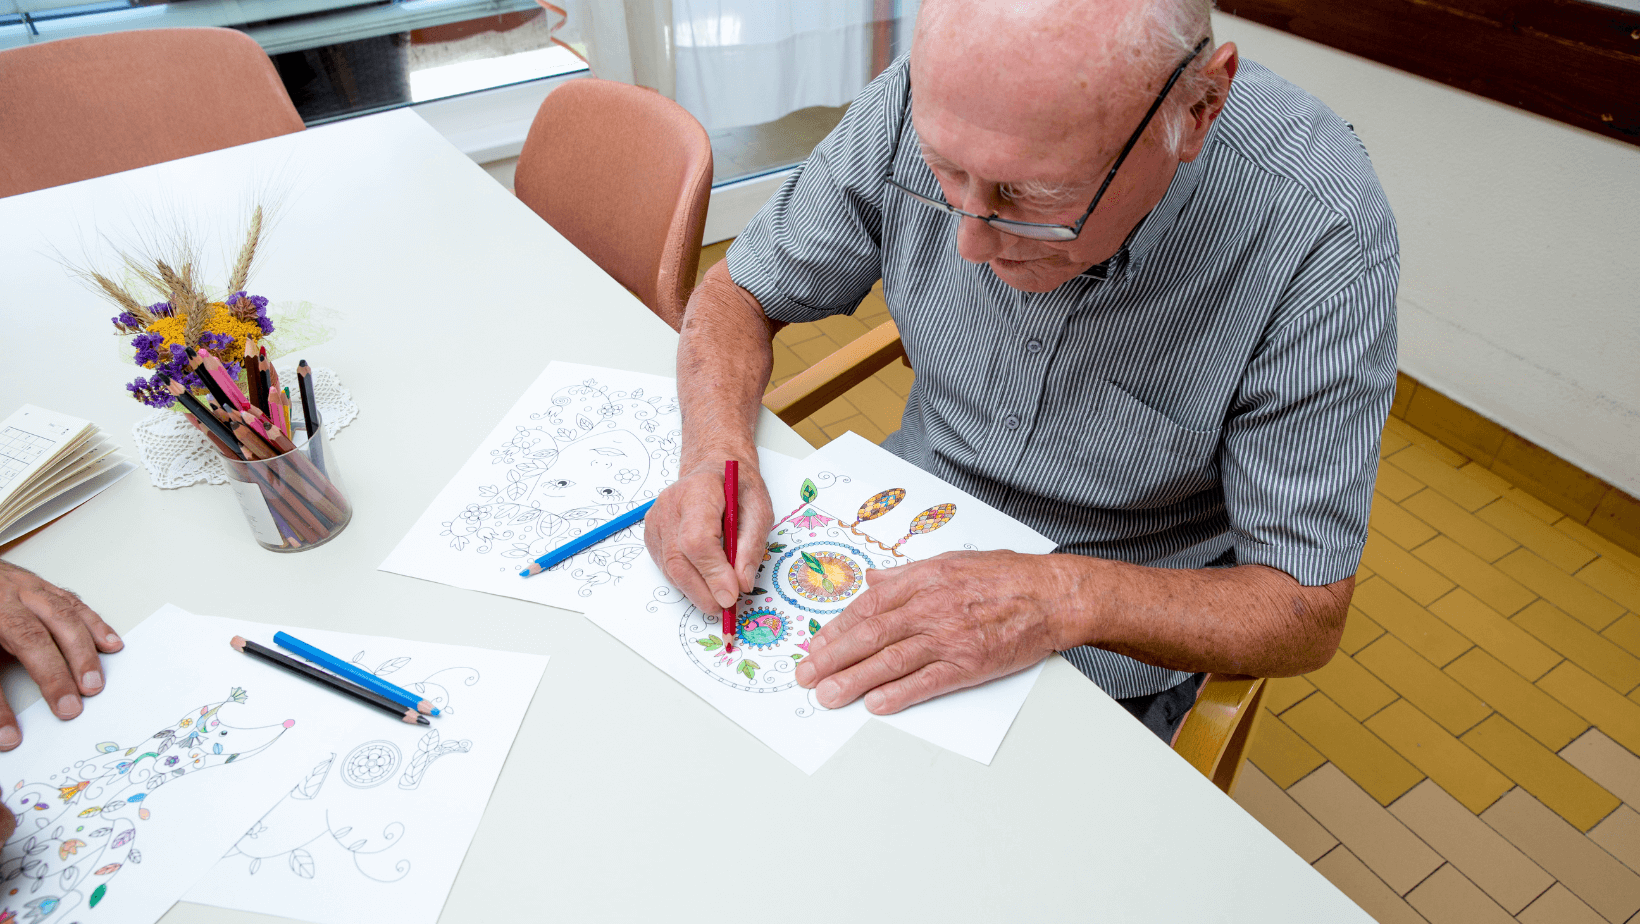
11. Coloring Books
If you want a truly simple activity that can keep residents stimulated for hours on a tight budget, there may be no better option than offering coloring books or pages to residents. Even better, this activity can be enjoyed by residents with young visiting family members, ensuring the whole family is in on the fun.
You can also customize this activity for specific holidays by printing out coloring sheets for events that are special to your residents. There are plenty of free coloring pages online for various holidays like Diwali, Easter, Hanukkah, Kwanzaa, and Ramadan, for example.
What You'll Need:
- Crayons, colored pencils, or markers
- Coloring books
12. Crocheting
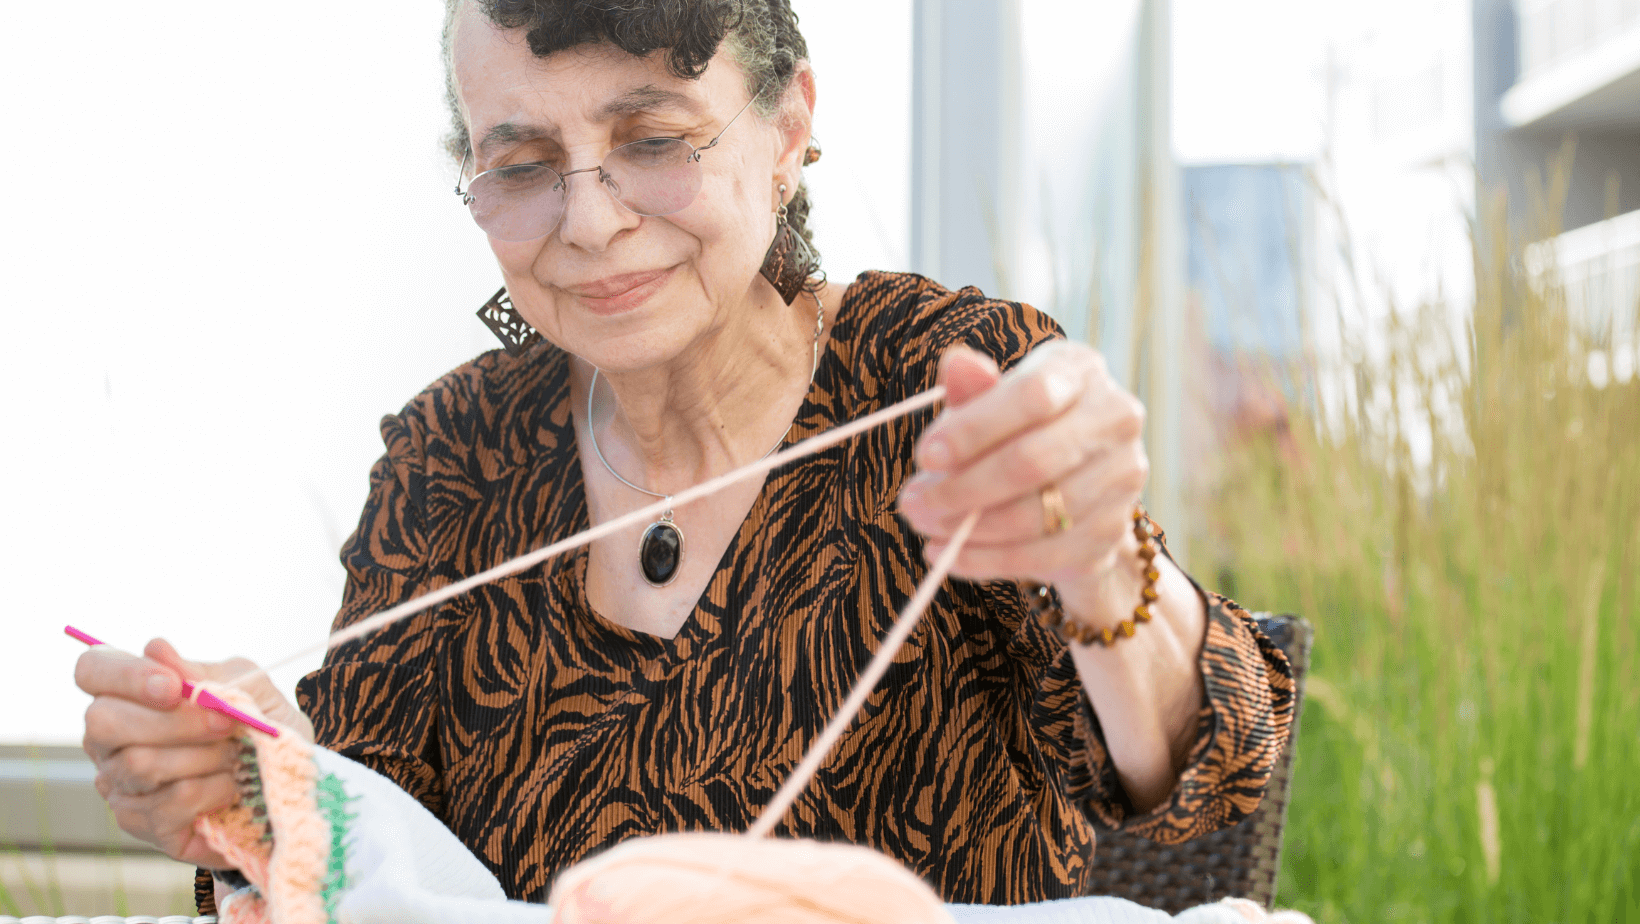
Crocheting is a time-honored activity that allows people to create a tangible item to be enjoyed by others, be it a pot warmer or a scarf. All you need to do for this activity is to set aside some yarn, appropriately sized crochet hooks, and some scissors to cut the yarn when needed.
What You'll Need:
- Yarn
- Crochet hooks
- Scissors
13. Paper Flowers
Liven up any space with some paper flower centerpieces. They're inexpensive to make, fun to look at, and don't need to be watered. Talk about a win-win-win!
Simply gather brightly colored paper, some scissors, adhesives, and either pipe cleaners or popsicle sticks. Allow residents to cut and combine the paper to dazzling effects before attaching the final paper flower to a pipe cleaner or popsicle stick. You can display the flowers in either plastic cup "pots" or actual flower pots (which can be its own tie-in crafting activity).
To make matters easier for residents, you can cut out flower, leaf, and petal shapes from the paper ahead of time, so residents just need to layer each piece in a pleasing way.
What You'll Need:
- Brightly colored tissue paper and construction paper
- Scissors
- Pipe cleaners or popsicle sticks
- Glue or tape
- Plastic cups
Flower pots (see below)
14. Flower Pots
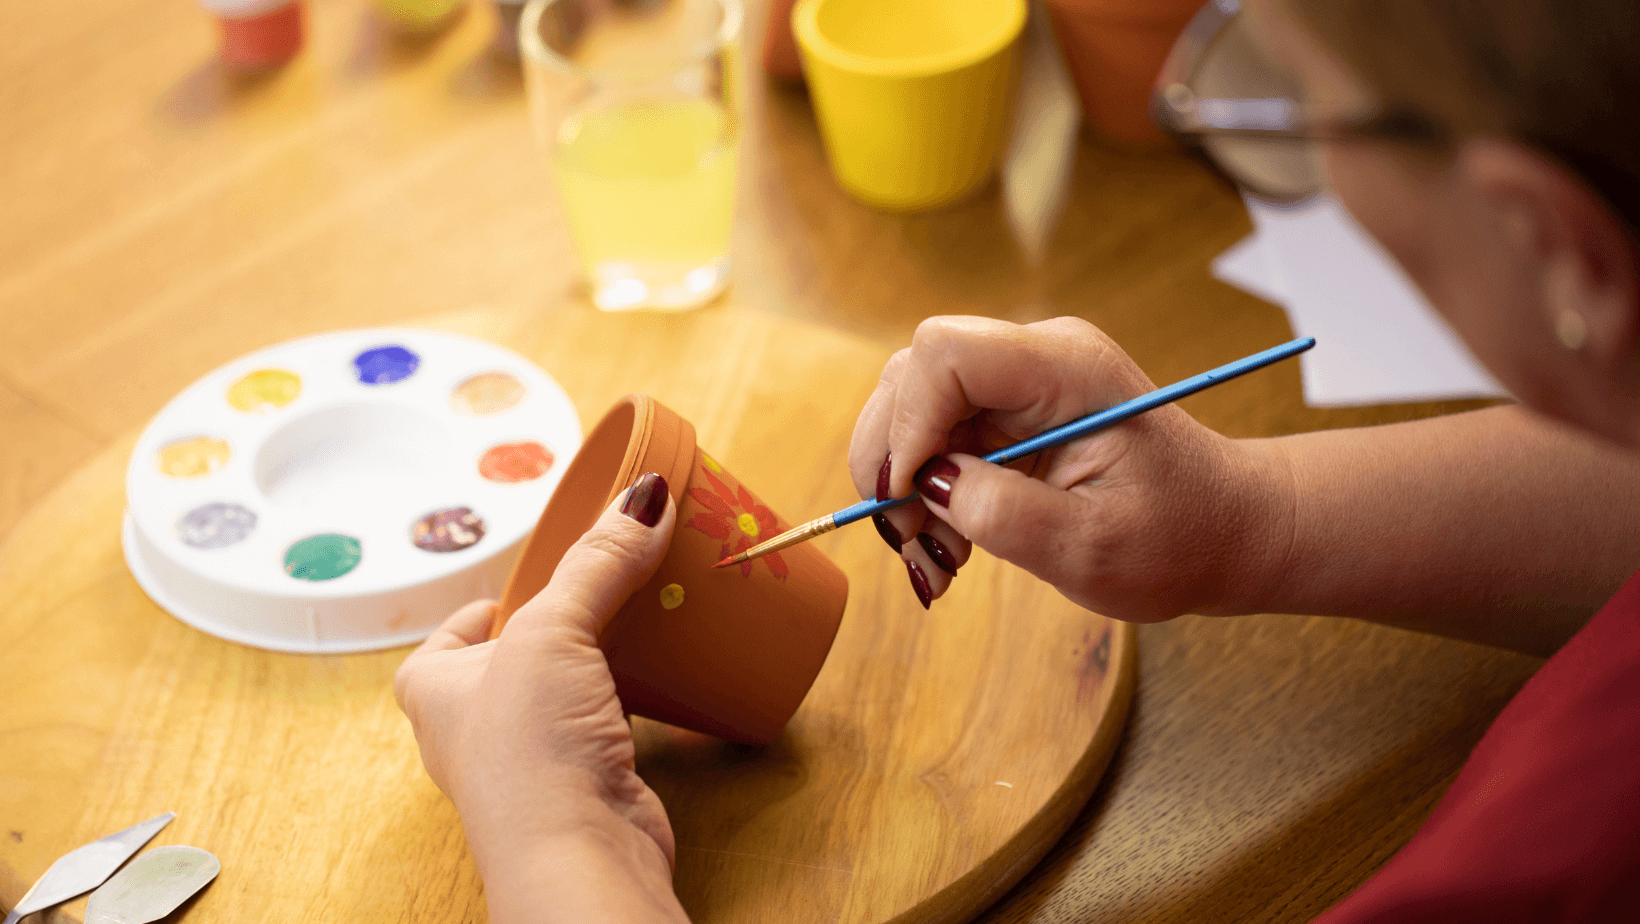
Make sure your residents have somewhere to display their paper flowers (or real ones, depending on what your residents want). There is no better place for a flower than a flower pot, and your residents can let their creativity shine by customizing their own.
You can buy some inexpensive terracotta pots at a dollar store or online and lay it on a newspaper in front of each resident. Set aside some paint for each resident on a paper plate and provide them with a paint brush and cup of water to wash the brush between colors. Then, let residents be creative and paint to their hearts' content. Once the paint has dried, you can set the pots up in residents' rooms or a communal garden.
What You'll Need:
- Acrylic paint, paint brushes, and cups of water to clean the brushes
- Paper plates to hold the paint for each resident
- Terracotta pots
- Newspaper to catch the mess
15. Wine Cork Coasters
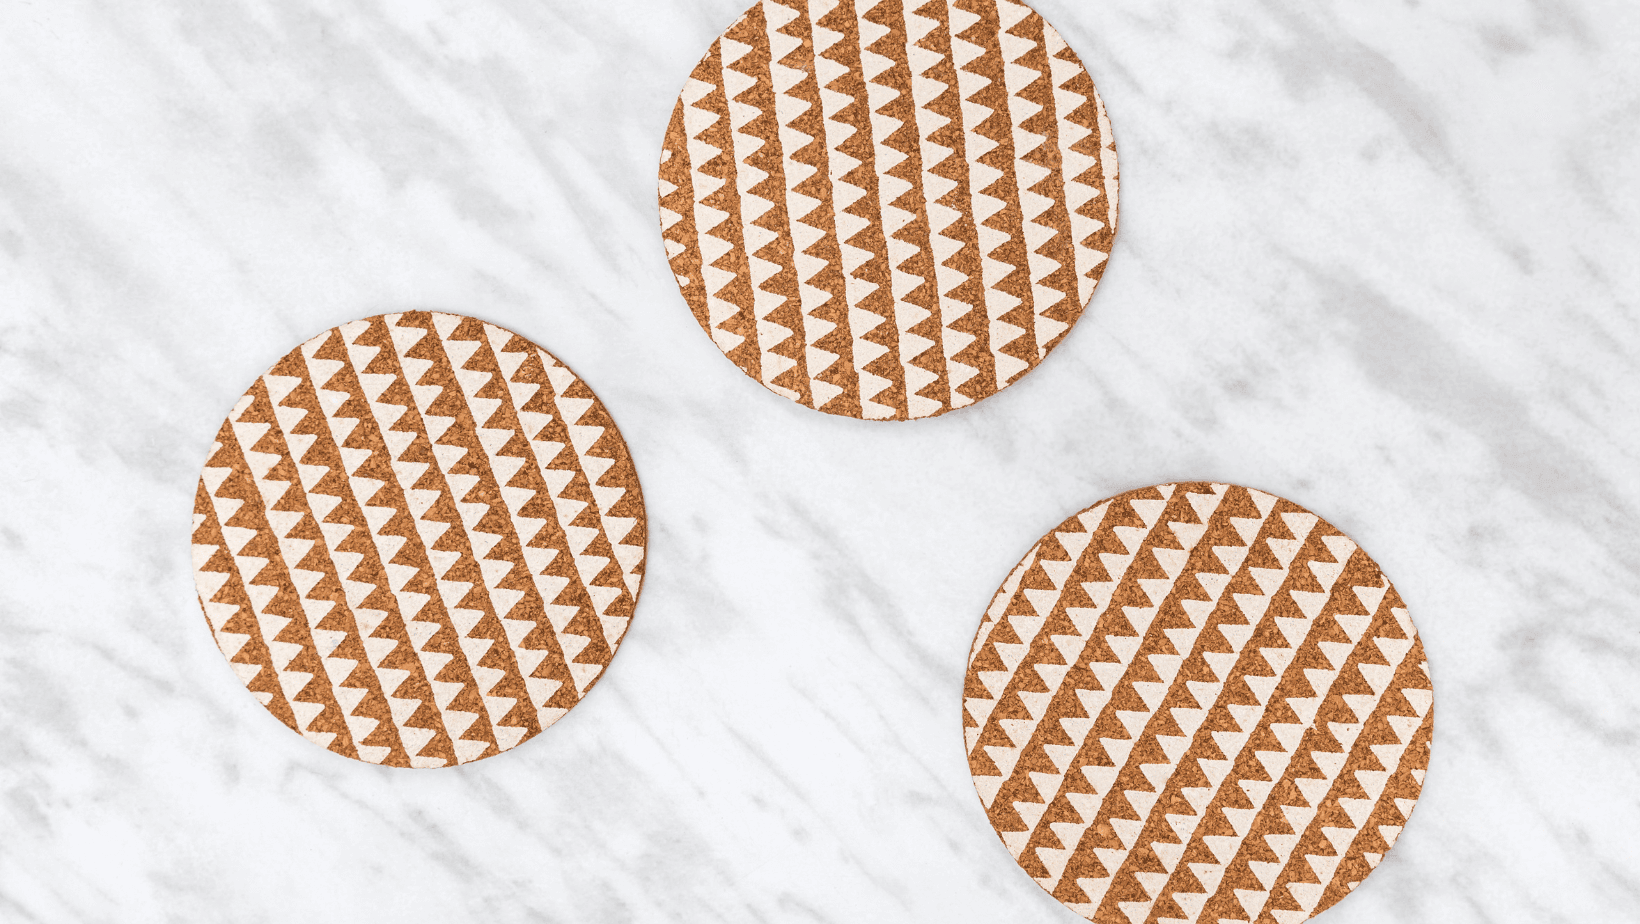
Nobody likes water ring stains on furniture, so why not make an activity out of decorating coasters?
You can buy blank cork board coasters in bulk online for relatively cheap. Set aside a single coaster and paint brush for each resident on a newspaper. Then, add some paint to a paper plate and give one to each resident along with a cup of water to clean brushes. Let each resident express themselves with the brush, let the results dry, and say goodbye to water ring stains!
What You'll Need:
- Blank cork coasters
- Acrylic or latex paint, paint brushes, and cups of water to clean the brushes
- Paper plates to hold the paint for each resident
- Newspaper to catch the mess
16. Paper Cup Wind Chimes
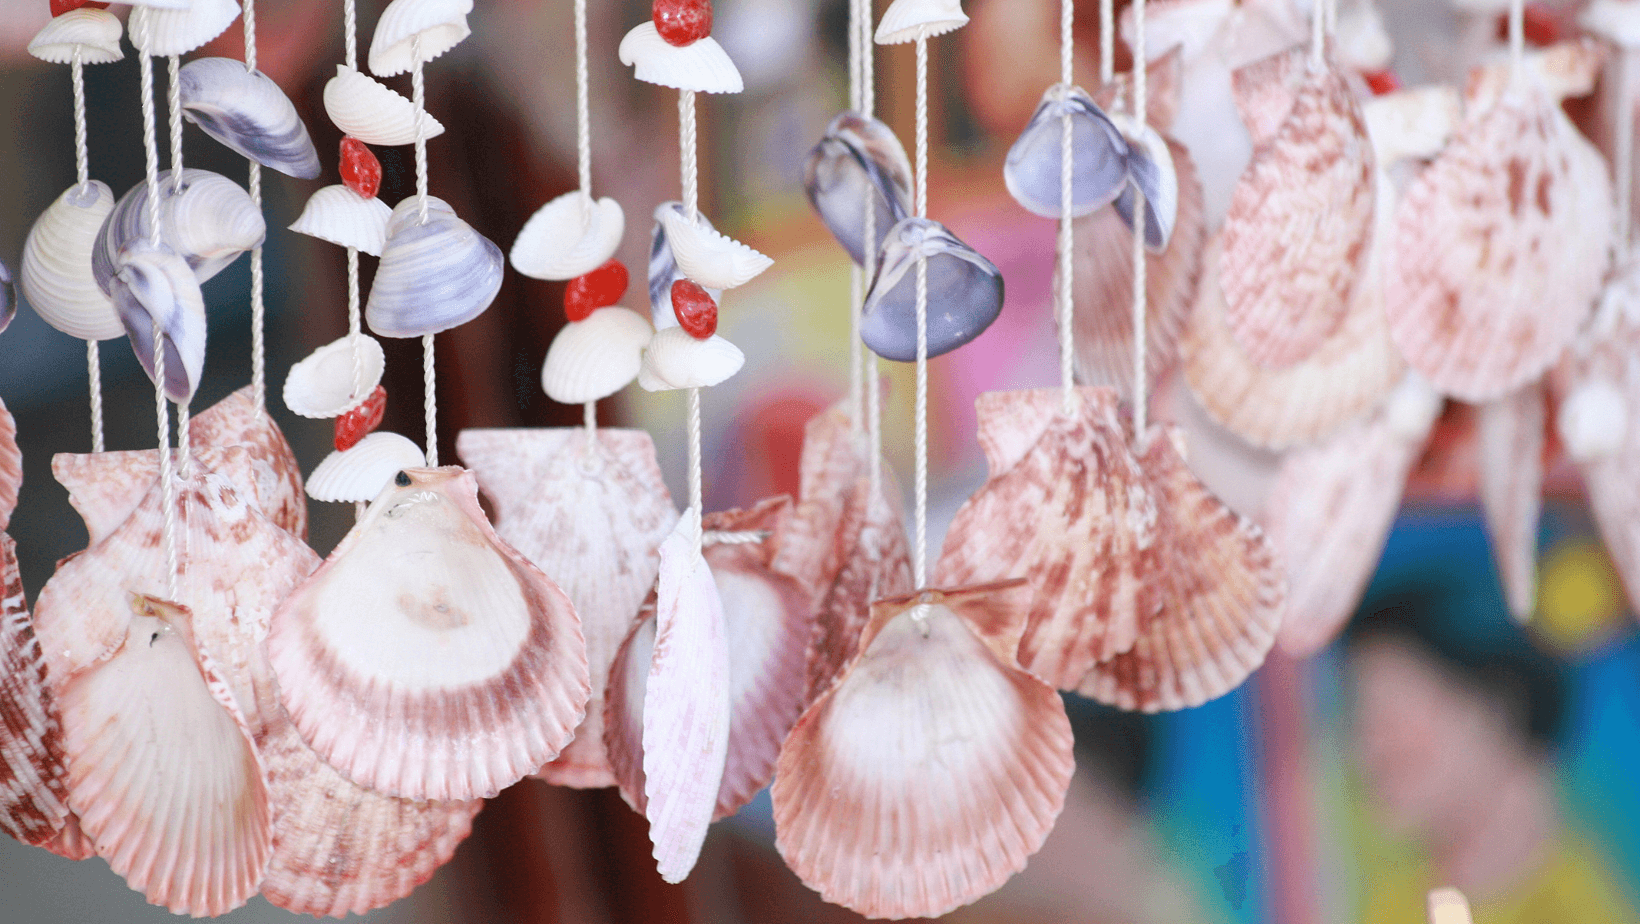
For windy spring seasons, offer a paper cup wind chime activity where residents can construct their own wind chime to display outside their room.
You'll need quite a bit of materials for this activity, but the results will be more than worth it. To start, set aside a cup for each resident on a newspaper. The cup should have a hole in the top with string looped through (this is where you will hang the finished product). Along the base of the cup, add a few holes and add strings roughly 12" to 18" long in each. Give each resident some paint on a paper plate, a paint brush, and a cup of water to wash their brushes. Put out some brightly colored buttons, beads, glue, glitter, stickers, and markers.
Once everything is assembled and set up, have residents get to work. This activity is best completed in two parts. For the first part, have residents decorate their cup with paint, glitter, stickers, and markers before letting everything dry. Once dried, move on to the second step: adding the actual chimes. Have residents add beads, buttons, and/or seashells (with holes in them) along each string at the bottom of the cup (you may have to help residents tie off a strong knot at the end). After completing this step, residents are free to proudly display their windchimes where they wish.
What You'll Need:
- Beads, buttons, or shells with holes
- String or ribbon
- Scissors
- Paper cups
- Markers
- Glue
- Glitter
- Stickers
- Paint, paint brushes, and cups of water to clean the brushes
- Paper plates to hold the paint for each resident
- Newspaper to catch the mess
17. Suncatchers
If windchimes are a hit with your residents, they'll be sure to love making their own suncatchers as well.
To begin, get a hold of some mason jar lids and set them down over a piece of paper. Create an outline of the lid on the paper and cut it out; make sure you have enough for each resident. On these circles, either draw a design that residents can color in or let residents make their own design. Next, let residents color on the circles. Once colored, use a cotton ball or brush to apply oil to the circles. Remove any excess oil and let the paper dry. Once dried, apply some glue to the inside of the mason jar lid and gently press the circle into the lid before letting it dry. Once dry, secure some looped string or ribbon along the edge of the lid and then let your residents hand their suncatchers in their windows.
What You'll Need:
- Mason jar lids
- Paper
- String or ribbon
- Scissors
- Cooking oil
- Cotton balls
- Paper towels
- Glue
- Markers and crayons
- Newspaper to catch the mess

Arts and Crafts at St. Andrew's
Arts and crafts are for everyone—including older people! They are a fun way to keep the mind stimulated, maintain fine motor skills, give people a sense of accomplishment, and socialize with others. That is why art projects and fun craft activities are always part of our schedule at St. Andrew's, no matter what level of care someone needs. From independent living to active adult living to assisted living to skilled nursing care (nursing home care) to memory care to short-term rehabilitation, everyone at St. Andrew's gets to experience the creative joy of arts and crafts for seniors within our network.


